Shower Entrance Tile Repair in Manchester: What Was Underneath
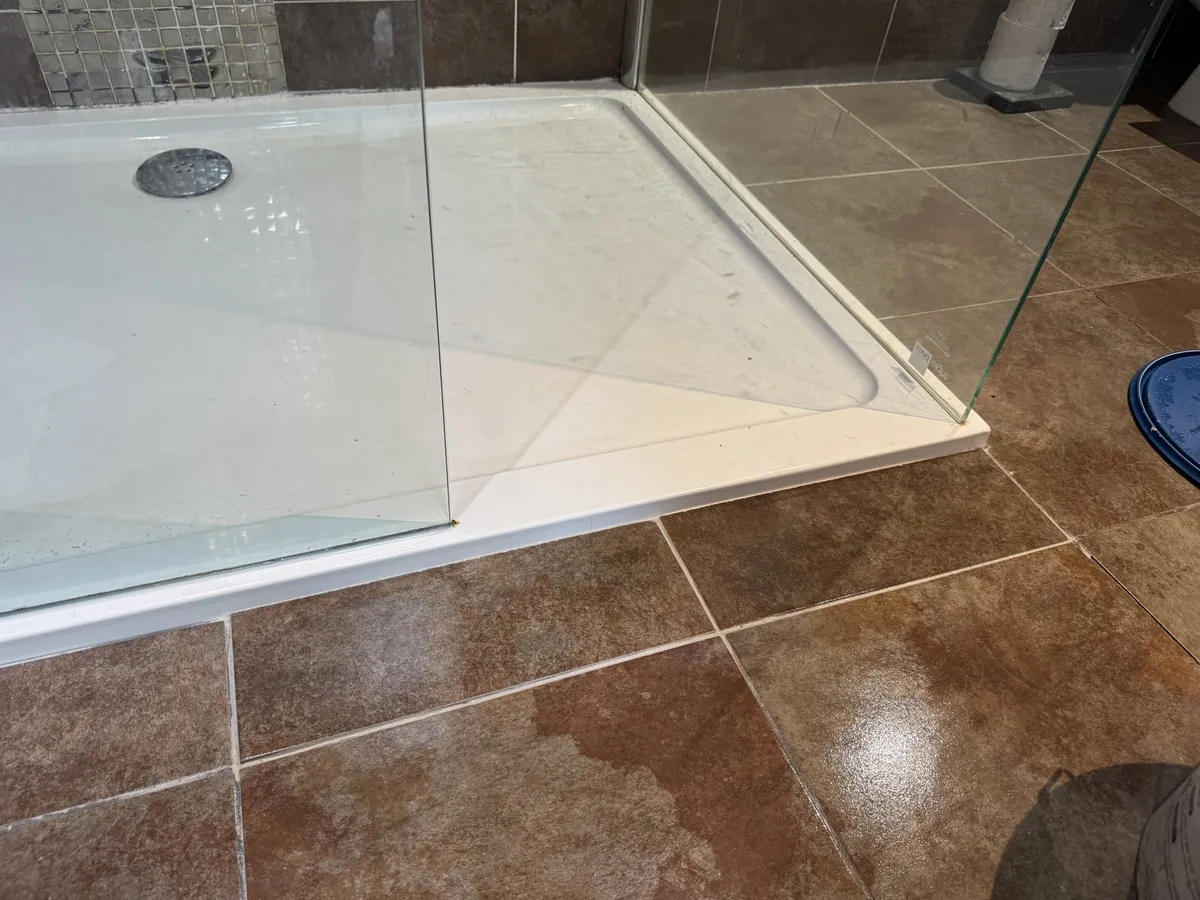
Two broken tiles at the entrance to a walk-in shower in Manchester looked like a small replacement job. Once I lifted them, the damaged flooring underneath became the main part of the work.
On this visit, completed on 9 November 2026, I repaired the accessible area beneath the entrance and fitted replacement pieces cut from the customer’s spare tiles.
What appeared when the tiles came up
Under the tiles was thin plywood over chipboard. The affected material had deteriorated, leaving a void beneath the entrance. The customer described a history of water getting into this area.
That changed the job from simply replacing the visible tiles. There needed to be a local base to fit the replacement pieces onto. Access further beneath the floor was limited, so the work stayed focused on the affected entrance area.
Rebuilding the local base
I cut away the accessible rotten material. An existing crossbeam gave me a fixing point for an additional timber support, then I rebuilt the local base and applied waterproofing material before fitting the tiles.
This describes the work carried out at this shower entrance. It was not a full bathroom floor replacement or an inspection of every concealed part of the floor.
Using the customer’s spare tiles
The customer had spare tiles from the existing floor, which meant I could cut matching replacement pieces rather than introduce a different colour or pattern.
I cut them on the tile saw, bedded them in tile adhesive and grouted the joints. Once that stage had set, I sealed the outside edge of the shower tray. The finished pieces blend back into the surrounding floor.
I advised the customer to leave the shower unused for two to three days after the work. That was the aftercare for this visit, not a universal drying time for every grout or sealant.
The useful lesson from this job
The visible damage was two tiles; the work underneath was more involved. Photos are a useful starting point for discussing a repair, but this job shows why the final scope can depend on what becomes visible when damaged material is removed.
The result shown here is the repaired local entrance and matching tile finish. It does not establish the condition of the rest of the concealed floor or confirm the cause of the earlier water ingress.
Have a bathroom repair to discuss?
Send a wide photo, a close-up of the problem, your postcode and a short description. Mention any movement, previous leaks and whether you have spare tiles. We can then discuss whether the work fits our scope or needs further assessment.
Contact The Heatons Handyman about your bathroom repair.
For a different example of work to an existing bathroom, see our Didsbury bathroom refresh case study.
Job account: Martin van Wyk, The Heatons Handyman.


